
Change DNS Servers for WiMAX CPE
Sometimes we need to use a good, fast, and reliable DNS server, like Google open DNS server, and many other open DNS servers.
Why? This could be due to an awful DNS server from our ISP; to get a faster response.
Or because they are blocking some websites, using DNS, and we need to use another DNS server to bypass the blockage and open the sites.
Or simply because we are paranoid and don't want our ISP to spy on us.
Unfortunately, WiMAX CPE don't make it an easy task like ADSL routers, you can't simply type a static DNS server and keep the IP address automatic from DHCP. So, we have to hack into our WiMAX CPE and manually change the DNS servers.
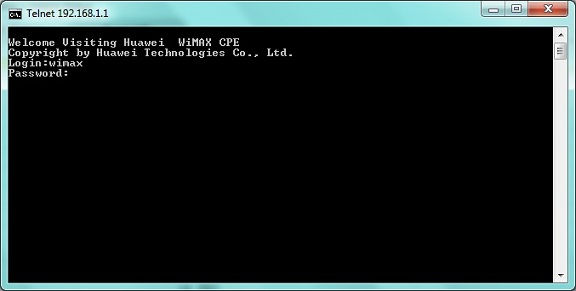
- First, we need to Telnet to our CPE:
Click on Start, Click Run, type CMD, and click OK.
At the command prompt type: telnet 192.168.1.1 assuming your router IP address is 192.168.1.1 if not change the number to match your.
If your running Windows 7 or later and received an error that Telnet is not a valid command, check this article on how to Enable Telnet on Windows 7. - You need to find the root user and password for your CPE to login and change the settings, for most Huawei WiMAX CPE its: wimax:wimax820
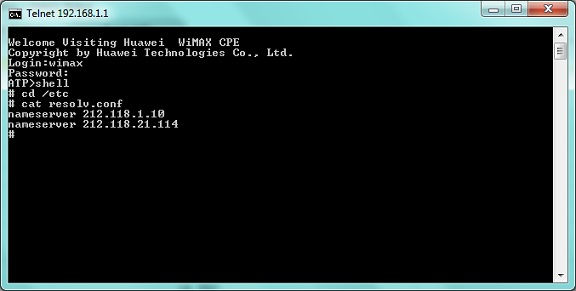
- To check what the current DNS servers are, we need a shell access to the device, then check the contents of resolv.conf file.
- Now we need to update the file with the new settings, by typing the following commands:
# cat > resolv.conf << EOF
> nameserver 8.8.8.8
> nameserver 4.2.2.2
> EOF
We can double check using this command: cat resolv.conf
One last note: This is a temporary change, so if you reboot the router or disconnect and connect again, settings will disappear and you have to repeat the process again.