
Host a website in IIS
So, you have your first website ready and need to be online, but you don't know how to host a website in IIS using your Windows server!
Or maybe you decided to go for dedicated Windows server hosting, or a Windows VPS server, or want to build your development site, but you don't know how. Don't worry you came to the right place, we will guide your host your first basic website.
The guide will be based on a clean Windows Server 2012 R2, but it is the same steps under any version of Windows Server with slight changes.
Install IIS Service
Windows servers are not configured to host websites by default, you have to install and configure IIS; in order to host your website.
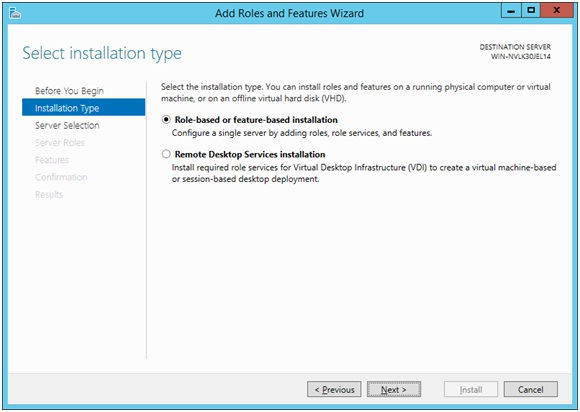
From Server Manager, click on Add Role or Feature and choose Role-based or feature-based installation.
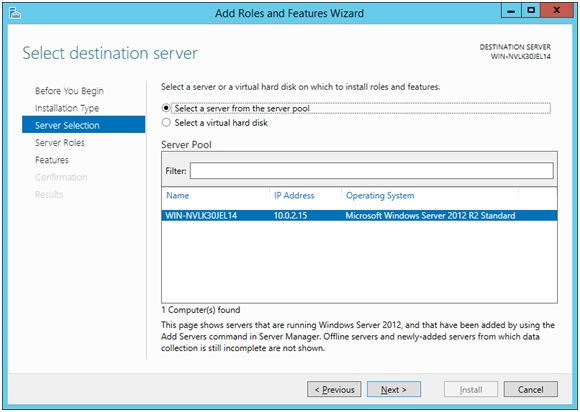
Then select your server from the list, and click next.
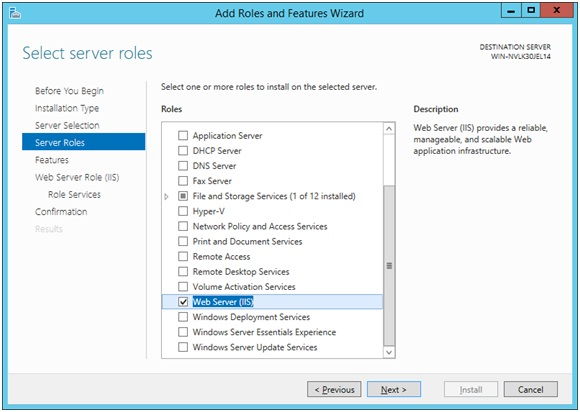
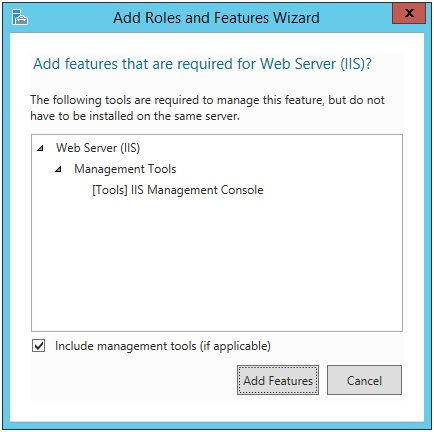
After that, from the list of Roles, select Web Server IIS, and from the new window click Add features; to install the necessary management components.
Click Next on the Features list without changing anything, and click Next on the next step “Web Server Role (IIS)”
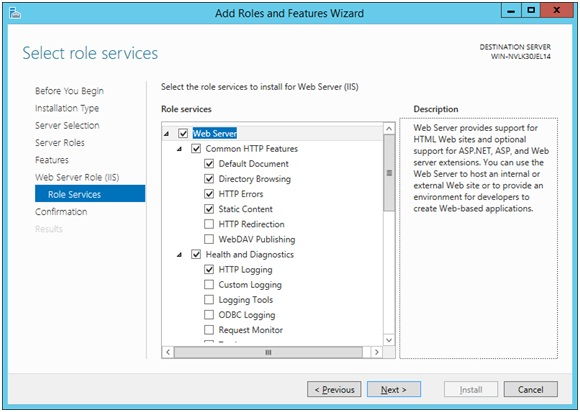
Now, on the next step Role Services, we decide what options we need to enable on our web server, for simplicity and our guide requirements, we are not going to change any option.
After that, clicks install and wait the installation to finish.
Now we are ready to host a website in IIS.
Add Website to IIS
After installing IIS it will be preconfigured to serve as a default Web site, but for the purpose of learning, we will delete this site and create our own one.
First, we need to open the management console “Internet Information Services (IIS) Manager”, either from the Server Manager, or from the Administrative Tools.
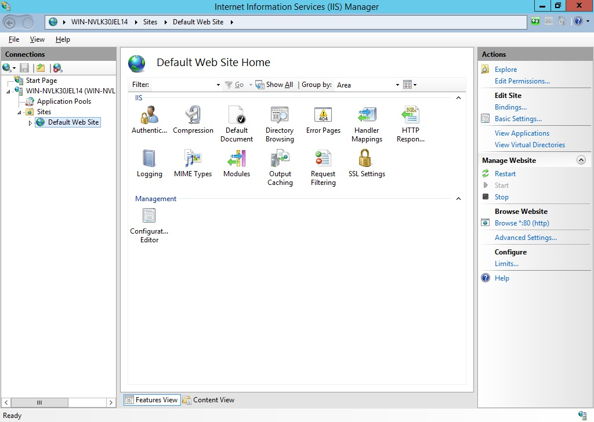
From the IIS Manager, we will Right click on the site Default Web Site, and click Remove.
After that, we will go to the Application Pools, and Remove the DefaultAppPool.
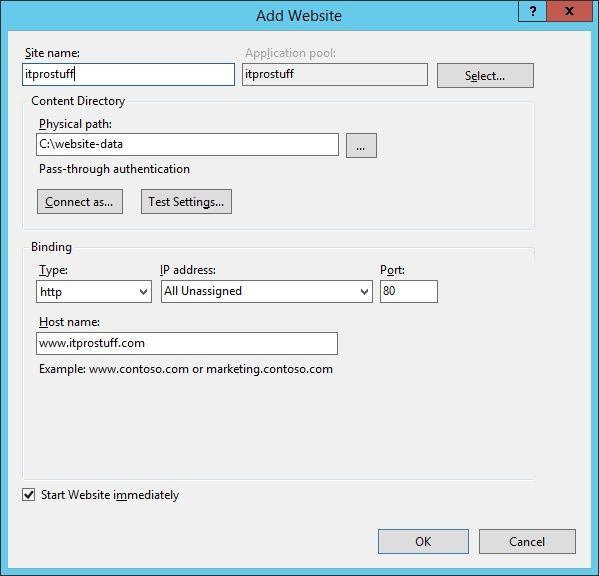
To create our new site, we will Right click on Sites, and click Add Website.
Assuming we are hosting our site www.itprostuff.com, we will name the site: itprostuff, then choose the physical path to where our html files are stored, and fill the host name with our website DNS name.
Now, the website is up and running and ready to serve the clients, as simple as that!
Our work has been done on the web server, all we have left to do to go online, is to point the DNS server to our web server IP address.
Basically, we will update the value for the “A” record in the DNS zone for our site; to have the IP address of the web server.